
How to Fix Amigurumi Gaps: 7 Practical Solutions
· 5 min read
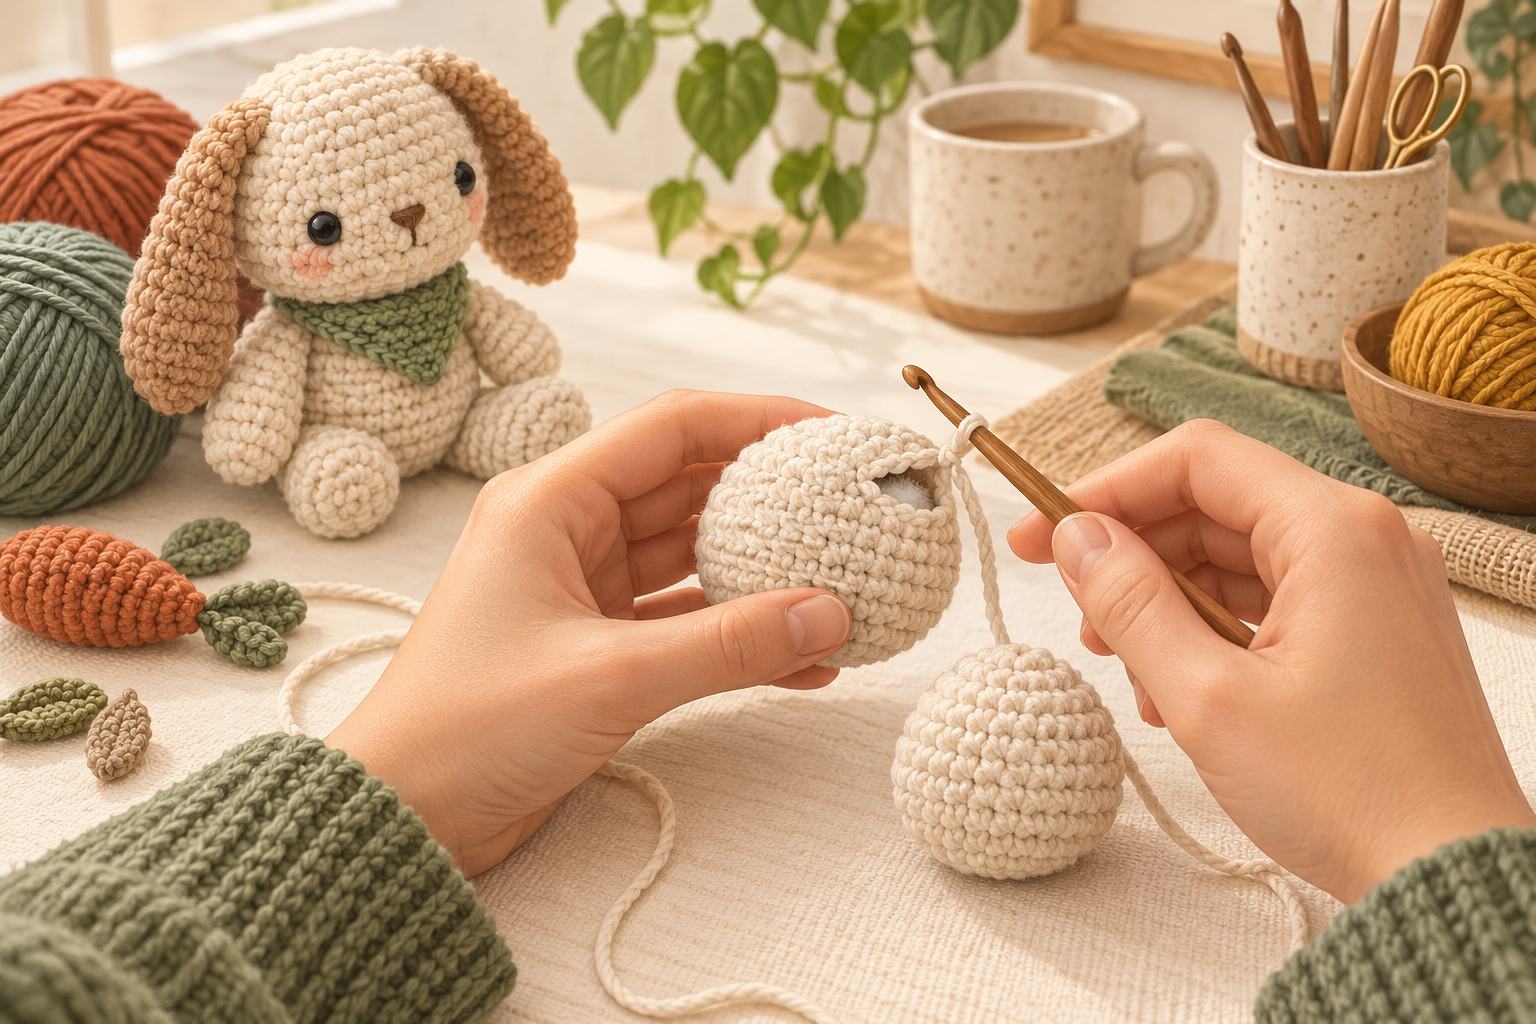
Seeing amigurumi gaps is discouraging, especially when the rest of the piece looks neat. In most cases you do not need to restart. The opening usually comes from one variable you can test: hook size, tension, stitch count, shaping, or stuffing. Use this checklist in order and change only one thing at a time.
What causes amigurumi gaps?
Amigurumi is worked tightly so the fabric can hold its shape and keep the filling inside. A gap appears when the loops are larger than the yarn can cover, when a stitch is missing, or when the finished fabric is pushed apart. Looking at the location of the opening gives you a useful clue: gaps everywhere point to hook size or tension; one gap points to a missed stitch or a local shaping mistake; gaps that appear only after filling point to overstuffing.
1. Test a smaller hook
A hook that is too large for your yarn leaves more space between single crochet stitches. Make a small test circle with the same yarn and try one size smaller. The fabric should look compact without feeling hard to work. If the hook is so small that your hands hurt or the yarn splits, go back up half a size and adjust your tension instead.
2. Stabilize your tension
Many beginners pull one loop tight and then make the next loop loose. That change creates isolated openings. Keep the loop on the hook snug enough to control but loose enough to slide. Let the yarn feed from the ball with steady pressure and keep your fingers in the same position for each stitch. A relaxed, repeatable grip works better than forcing every stitch closed.
3. Check where the hook enters
For standard single crochet in continuous rounds, insert the hook under both top loops unless the pattern says otherwise. Catching only one loop can stretch the stitch and leave a small hole. If the opening appears in the same place on several rounds, stop and inspect that entry point. Do not compensate by pulling the whole round tighter.
4. Count every round
A skipped stitch, an extra stitch, or a misplaced increase changes the shape and can pull nearby stitches apart. Place a marker in the first stitch of every round. Count before you start the next round, and count again after increases or decreases. If the number is wrong, undo only the affected rounds while the work is still easy to read.
5. Review increases and decreases
Openings near shaping often come from a working loop that was pulled too high or from a decrease worked in a different place than the instructions specify. Compare the problem round with the written pattern and identify each increase or decrease as you go. Marking these stitches with removable markers is especially helpful while learning.
6. Add stuffing gradually
Correct crochet can still open when it is overfilled. Add small tufts instead of pushing in one large amount. Rotate the piece and check the fabric after each addition. If the filling shows through, remove a little and press the shape from the outside. The finished piece should feel firm but still have a little give.
7. Repair one isolated gap
If the rest of the fabric is even, a single tiny opening can be closed from the inside with a yarn needle and matching yarn. Pass through the neighbouring stitches with light tension, then hide the ends inside. Keep the repair flat so it does not pucker. This is a finishing repair; repeated gaps still need a hook, tension, or stitch-count adjustment.
Choosing a hook set for troubleshooting
If you are unsure which size gives you a dense fabric, having several nearby sizes makes a quick swatch comparison easier. I checked this INSCRAFT 67 Pack Crochet Hooks Set on Amazon US: the listing describes 13 ergonomic hooks from 2 mm (B) through 10 mm (N). That range is useful for testing a smaller hook against the size recommended on a yarn label. It will not solve every tension problem, so use the swatch test above before changing your whole project.
Disclosure: Craftivora may earn a commission from qualifying purchases made through this link, at no extra cost to you. Product details and availability can change; check the Amazon page before buying.
A five-minute troubleshooting order
- Look at the fabric before stuffing and mark where the gaps start.
- Make a short swatch with the same yarn and one smaller hook.
- Check the stitch count and the location of every increase or decrease.
- Add less stuffing and rotate the piece while filling.
- Repair a single remaining opening only after the cause is corrected.
Change one variable at a time and take a quick photo after each test. This makes recurring amigurumi gaps easier to compare. Comparing photos is often easier than judging the piece while you are holding it.
When a small structured project helps
If rounds, shaping, and assembly still feel confusing, practise on a short project before returning to a larger amigurumi. The No-Sew Crochet Keychain Starter Pack gives you a compact way to practise consistent stitches and finishing. It contains the complete pattern instructions; this guide stays focused on diagnosing gaps.
Frequently asked questions
Should I always use a smaller hook?
No. Try one size smaller only when the fabric is loose across the whole piece. If the gap is isolated, check the stitch count and hook entry first.
Why do gaps appear only after stuffing?
The filling is pushing the stitches apart. Remove some stuffing, add it in smaller pieces, and check the fabric as you rotate the piece.
When should I restart?
Restart only when the stitch count or shaping is wrong across several rounds and undoing it would take longer than remaking the section. A single hole or a short loose area is usually repairable.
Save this checklist and return to it whenever amigurumi gaps appear. Use the same order each time so you can identify the cause instead of guessing. Once you know whether the cause is hook size, tension, count, shaping, or stuffing, the next round becomes much easier to fix.