Free Chibi Reindeer Keychain Crochet Pattern (Beginner)
· 3 min read
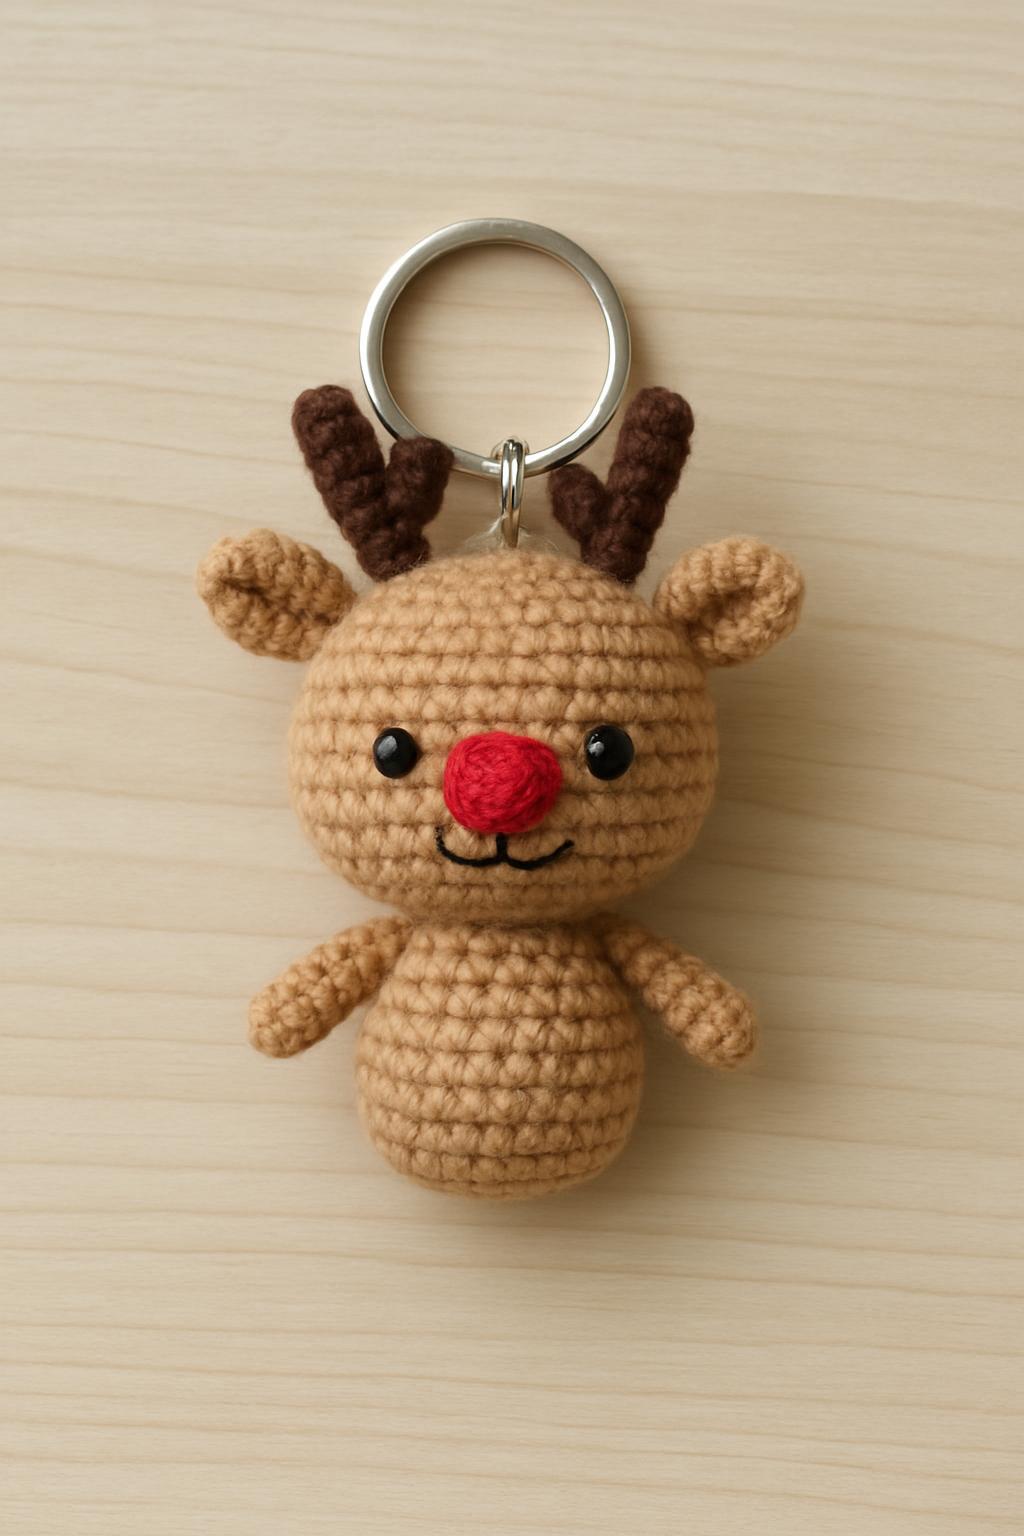
The chibi reindeer keychain crochet pattern is a compact project that fits nicely in your hand. This design uses simple shapes and a limited palette, making it approachable for those new to amigurumi.
Working with small parts requires attention to tension and detail. Keeping stitches even helps the figure hold its shape and look balanced.
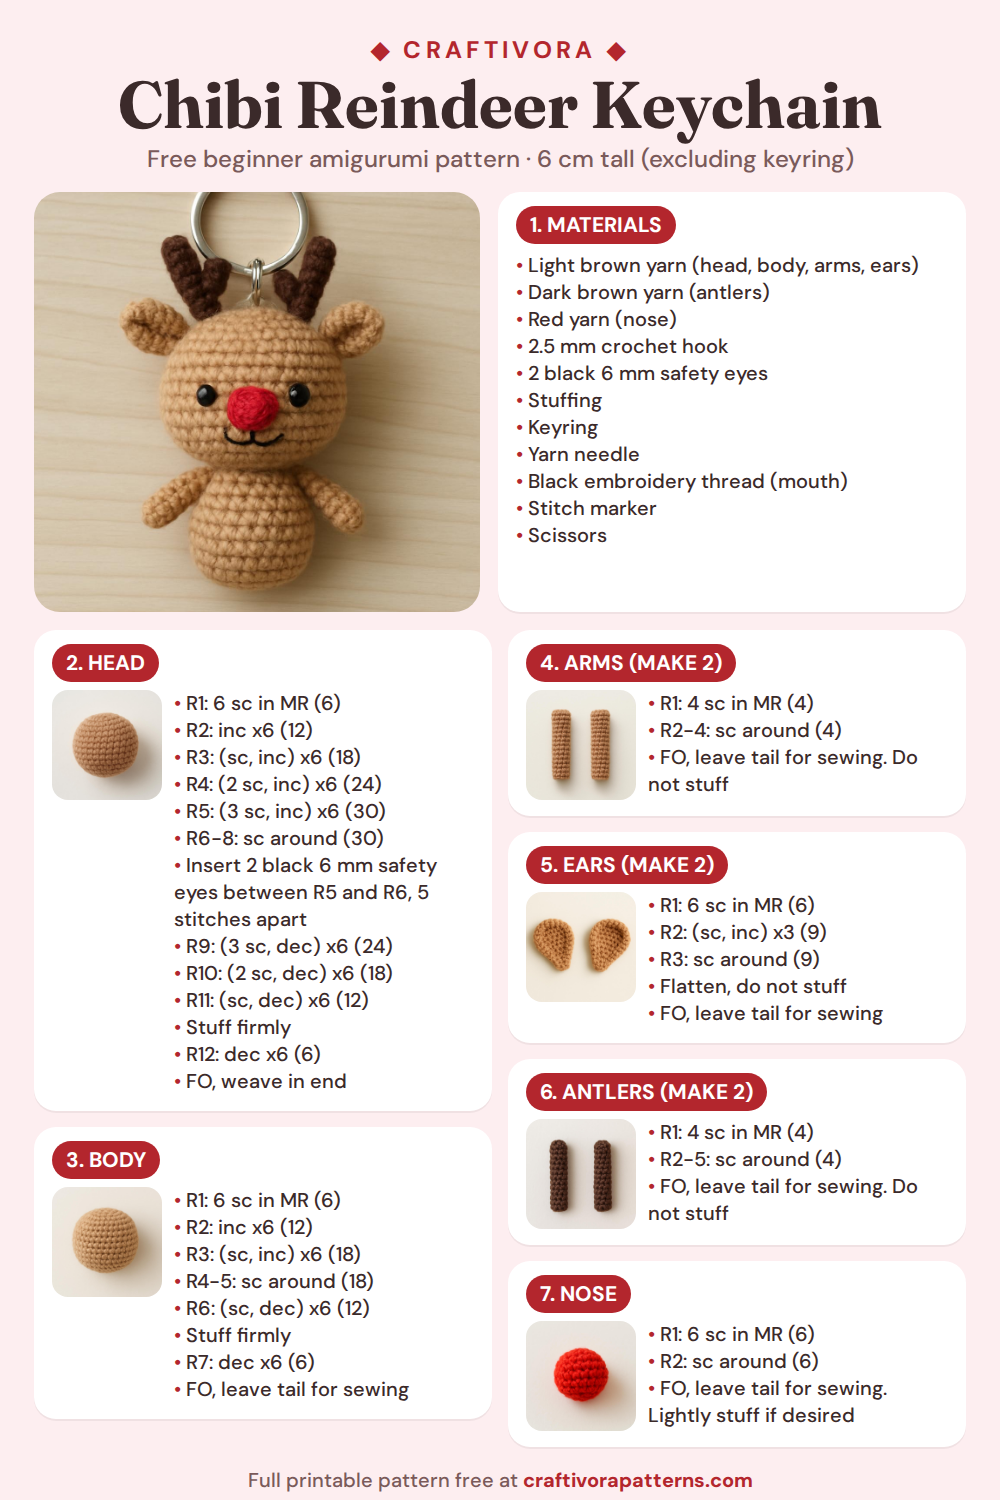
Prefer paper? Get the printable PDF free: the whole pattern on two pages.
What you need for the chibi reindeer keychain crochet pattern
- Light brown yarn (head, body, arms, ears)
- Dark brown yarn (antlers)
- Red yarn (nose)
- 2.5 mm crochet hook
- 2 black 6 mm safety eyes
- Stuffing
- Keyring
- Yarn needle
- Black embroidery thread (mouth)
- Stitch marker
- Scissors
Choose a smooth, light brown yarn for the main parts to highlight the antlers and nose colors distinctly. A slightly firm yarn helps maintain the miniature form.
Abbreviations (US terms)
- MR = magic ring
- sc = single crochet
- inc = increase (2 sc in same stitch)
- dec = decrease (sc 2 together)
- ch = chain
- FO = fasten off
Place a stitch marker in the first stitch of each round. The number in brackets is the stitch count at the end of the round.
The pattern, round by round
Head (Light brown)
- R1: 6 sc in MR (6)
- R2: inc x6 (12)
- R3: (sc, inc) x6 (18)
- R4: (2 sc, inc) x6 (24)
- R5: (3 sc, inc) x6 (30)
- R6-8: sc around (30)
- Insert 2 black 6 mm safety eyes between R5 and R6, 5 stitches apart.
- R9: (3 sc, dec) x6 (24)
- R10: (2 sc, dec) x6 (18)
- R11: (sc, dec) x6 (12)
- Stuff firmly.
- R12: dec x6 (6)
- FO, weave in end.
Body (Light brown)
- R1: 6 sc in MR (6)
- R2: inc x6 (12)
- R3: (sc, inc) x6 (18)
- R4-5: sc around (18)
- R6: (sc, dec) x6 (12)
- Stuff firmly.
- R7: dec x6 (6)
- FO, leave tail for sewing.
Arms (make 2) (Light brown)
- R1: 4 sc in MR (4)
- R2-4: sc around (4)
- FO, leave tail for sewing. Do not stuff.
Ears (make 2) (Light brown)
- R1: 6 sc in MR (6)
- R2: (sc, inc) x3 (9)
- R3: sc around (9)
- Flatten, do not stuff.
- FO, leave tail for sewing.
Antlers (make 2) (Dark brown)
- R1: 4 sc in MR (4)
- R2-5: sc around (4)
- FO, leave tail for sewing. Do not stuff.
Nose (Red)
- R1: 6 sc in MR (6)
- R2: sc around (6)
- FO, leave tail for sewing. Lightly stuff if desired.
Assembly
- Sew the body to the bottom of the head, centering it.
- Sew the arms to each side of the body, just below the head.
- Sew the ears to the sides of the head, slightly above eye level.
- Sew the antlers to the top of the head, spaced evenly apart.
- Sew the red nose centered between the eyes.
- With black embroidery thread, stitch a small mouth below the nose.
- Attach the keyring securely to the top of the head.
- Weave in all ends.
Tips for a neat finish
- When crocheting the antlers, keep your tension slightly looser than the head to avoid warping the shape.
- To keep the face symmetrical, mark the eye positions on the head before inserting safety eyes, using a ruler or stitch count.
- Sew the ears with a few tight stitches at the base only, allowing them to tilt naturally for a lifelike effect.
- Use a fine needle and short stitches when embroidering the mouth to maintain delicate proportions on the small face.
- Before attaching the keyring, stretch the top stitches of the head gently to avoid puckering when the metal ring pulls.
Questions
Can I use a different yarn weight for this pattern? Using a thicker yarn will increase the size and may require a larger hook, which can change the proportions and details.
How do I keep the antlers from twisting after sewing? Pin them in place on a flat surface before stitching to ensure they stay aligned and secure.
Make the next one
Once the reindeer is done, the Cute Axolotl Keychain uses the same small-parts skills, or browse the rest of the shop.
- free pattern
- amigurumi
- keychain